DYI Projects during Quarantine
For many at-home projects, you usually need to go out and spend money on material or tools. But a good project doesn’t need to have luxurious material or top of the line tools for it to be fun and useful for your everyday needs. There are some projects that you can do with things you have laying around your house! These enjoyable do it yourself (DIY) projects will not only be completely free with barely any skill needed but delightful to make and functional for your whole family. I’ll be showing you some crazy cool ideas you can do, all while not leaving your front door. Without further introduction, let’s get started on showing you these amazing projects!
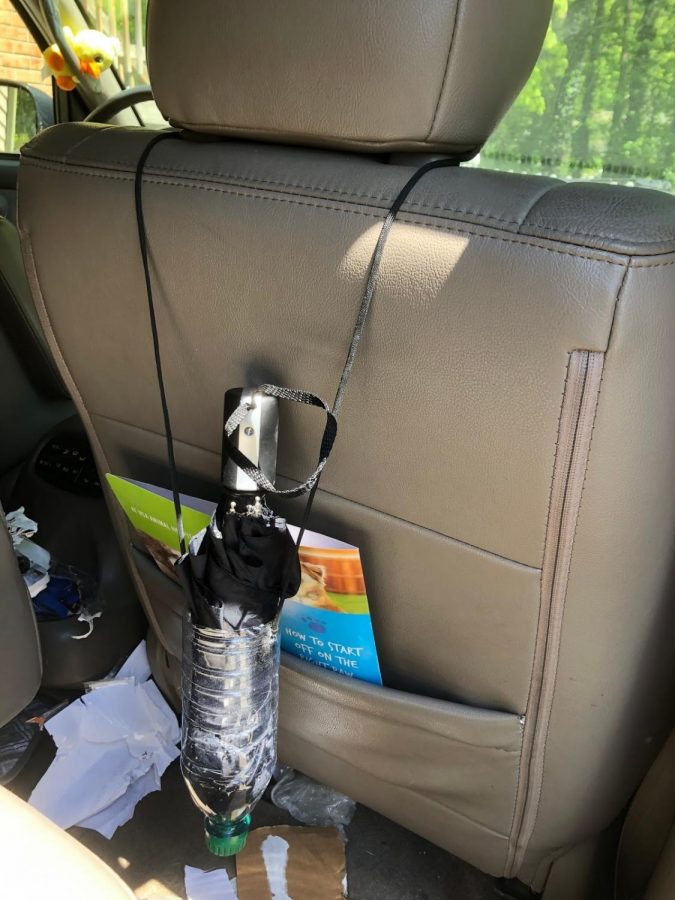
Let’s start with a pretty useful yet straightforward DIY project: a holder for your wet umbrella. First, take an empty plastic bottle and cut the flat end off with either scissors or a utility knife. After that, make a small hole with the knife or scissors on both sides of the cut off area. Next, find some sort of string or small rope. If you have it, the paracord will work fantastic. If not, old shoe strings or really anything like that will work just fine. Insert one end of the string and tie a knot. Make sure the knot is bigger than the hole; otherwise, it won’t work. Do the same for the other side, and done! You can now hang it on the back of a car seat and place the umbrella in. It’s a better option than the floor of the car, and the bottle will hold the water as well (Just as long as the cap is still there).
Now, I’ll show you a more complex but worthwhile project: A cardboard pencil container. First, take two flat pieces of cardboard and cut it into rectangles. Cut a line in the middle of both of them, then slide the two together, locking it in place. Next, cut a circle from cardboard, this will be the base. Hot glue the base to the bottom of the rectangles. Then, take some construction paper of any color you’d like and wrap the paper around the base and rectangles. Glue them together and decorate it however you want. Ta-da! You’ve made a pencil holder from a few scraps of cardboard. It’s perfect for holding any art supplies you need, and it’s a fun project anyone can do!
For the last one, we’ll go quite a bit harder now. This project won’t just require scissors and plastic, but real tools and actual building materials, but will still be in the realm of possibility for all you crafters out there. To start, you’ll need a block of wood, any length, and at least an inch tall. First, cut the wood to the length you want with any kind of saw you have, whether it’s a table saw, bandsaw, jigsaw, or even just a plain old hand saw. Next, it’s time to make the groove where the phone will go. A table saw with the correct blade high will work best for this, but like before, a hand saw can work; just make sure you cut at an angle and not completely straight. After that, sand down the wood with sanding paper to get it all smooth. Finally, you can stain it with wood stain if you’d like, and done! I hope you enjoyed and were able to learn a few things on how to have fun during times like these.